

A bracelet size is simply the bracelet’s inside circumference, the full loop length measured with the clasp closed. To find yours, measure your wrist just below the wrist bone and add a small allowance called ease. For a comfortable chain fit, add about 1/2" to 1" of ease depending on how snug or loose you want the bracelet to sit.
Most women’s wrists fall between 6.0" and 6.5" (15.2–16.5 cm), which means a standard 7" bracelet with 1/2" ease fits the majority of buyers right out of the box. That said, ease is personal. A slim chain worn close to the skin needs less room than a charm bracelet loaded with pendants.
- Snug/standard chain fit: add 1/2" (1.3 cm)
- Stacked or charm bracelet: add ~3/4" (2.0 cm)
- Loose drape or bangle: add up to 1" (2.5 cm)
Key Takeaways
Bracelet size is the inside circumference of the loop, not a flat measurement, and adding the right ease for your style is what turns a wrist measurement into a bracelet that actually fits.
| Point | Details |
|---|---|
| Measure below the wrist bone | Place the tape just below the wrist bone where you normally wear a bracelet, then read the circumference. |
| Add ease by style | Add 1/2" for a chain, ~3/4" for stacked or charm bracelets, and up to 1" for a loose fit or bangle. |
| Match inside circumference first | The sizing number is always the inside loop measured with the clasp closed, not a doubled flat figure. |
| Use band height for proportion | Measure band height separately in millimeters to judge how chunky or dainty the piece will look. |
| Merijaan lists both measurements | Merijaan product pages show inside circumference and band height, backed by a lifetime warranty and exchange policy. |
Table of Contents
- How bracelet sizing numbers actually work: circumference vs. band height
- How to measure your wrist accurately for any bracelet
- Convert your wrist measurement to the right bracelet length
- Does bracelet type change how you size it?
- How to measure a bracelet you already own
- Common sizing mistakes and how to fix them fast
- Why fit is more personal than any chart suggests
- Merijaan makes sizing straightforward before you order
- Sources
How bracelet sizing numbers actually work: circumference vs. band height
Bracelet sizing has two separate measurements, and confusing them is the most common reason a piece looks wrong on the wrist.
The inside circumference is the sizing number. It tells you how long the loop is when the clasp is closed, which determines whether the bracelet fits around your wrist at all. This is the number listed on product pages and size charts.
The band height is a completely different measurement: how tall the bracelet is from top to bottom. A 7" bracelet can be a 2 mm delicate chain or a 20 mm bold cuff. Both have the same loop length, but they look and feel entirely different on the wrist.
Sizing is two-dimensional for buyers: match inside circumference first to confirm the bracelet closes, then use band height to judge how the piece will sit and look on your wrist.
Jewelers typically express loop length in inches (because that’s how most buyers shop) and band height in millimeters, which gives cleaner precision for narrow measurements. When you read a product listing, check that both figures are present. If only one number appears, ask before you buy.
How to measure your wrist accurately for any bracelet
Getting an accurate wrist measurement takes about 30 seconds. The placement matters more than the tool.
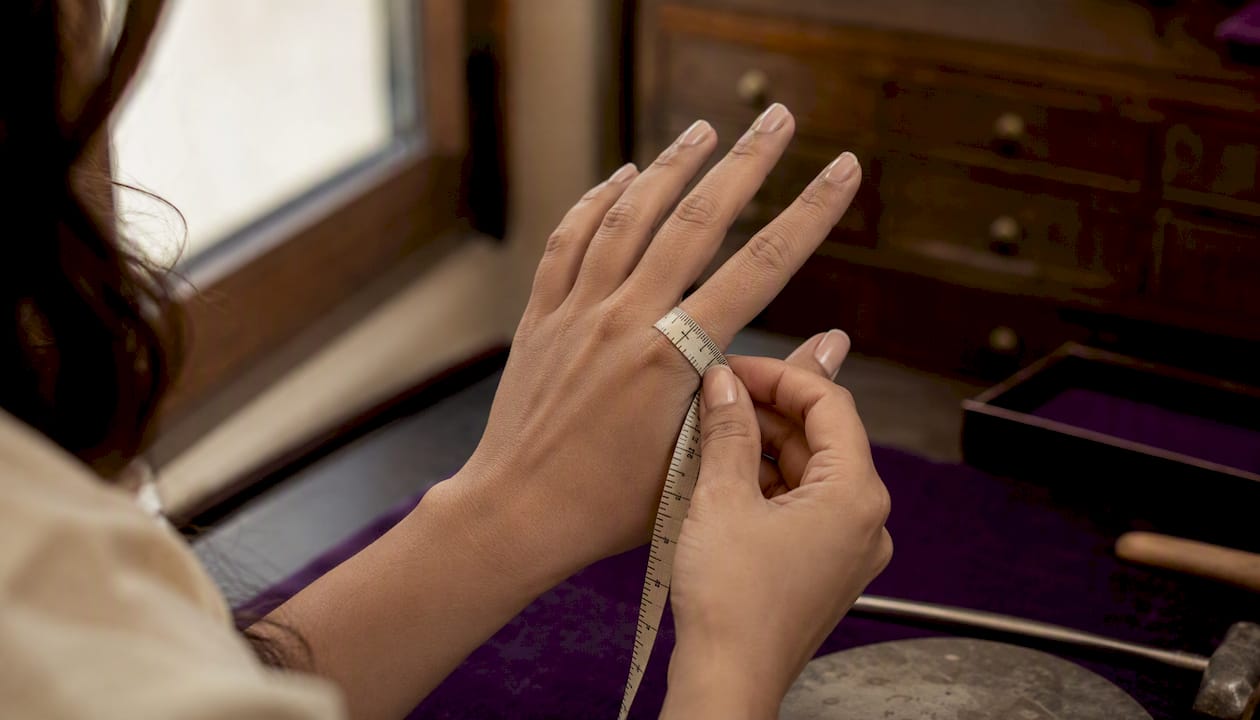
- Wrap a flexible tape measure around your wrist just below the wrist bone, at the point where you normally wear a bracelet. Keep the tape flat against the skin, not tilted.
- Pull it snug but not tight. You should be able to slide one finger underneath. Read the circumference where the tape meets itself.
- Record in both inches and centimeters so you can match any listing format.
- No tape measure? Cut a thin strip of paper or use a piece of string. Wrap it around your wrist at the same spot, mark where it overlaps, then lay it flat against a ruler.
Timing matters. Wrists are slightly smaller in the morning and can swell after exercise or in heat. Measure mid-morning with warm hands for the most representative reading. If your wrists differ in size, measure both and use the larger number.
Pro Tip: Print a paper ruler from a printable sizing chart, or ask the retailer for a sizing strip. These are cut to exact bracelet lengths and let you feel the actual loop size on your wrist before you order.
Convert your wrist measurement to the right bracelet length
Once you have your wrist circumference, add the right amount of ease for the style you want. The chart below maps common wrist sizes to standard bracelet lengths.
Common wrist circumferences map to approximate standard bracelet lengths for different fit styles, ranging from snug chains to looser fits or bangles.
Conversion examples:
- 6.5" wrist + 1/2" ease = 7.0" bracelet (17.8 cm)
- 7.0" wrist + 3/4" ease = 7.75" bracelet (19.7 cm)
- 6.0" wrist + 1" ease = 7.0" bracelet (17.8 cm) with a loose drape
Retail guides, including those from Pandora, recommend showing both units and steering uncertain buyers toward adjustable styles. That’s practical advice: if you’re between sizes, an adjustable chain with an extender removes the guesswork entirely.
- Charm bracelets: add ~1" (2.5 cm) so charms hang freely
- Leather and multi-link: add ~1/2" (1.3 cm)
- Bangles: use hand diameter, not wrist circumference (see below)
Pro Tip: When shopping internationally, check whether the listing states inside circumference or an outside measurement. Always prefer listings that show both loop length and band height.
Does bracelet type change how you size it?
Yes, significantly. Each style has its own sizing logic.
Chain and clasp bracelets follow the standard ease method. One finger of space between the bracelet and your wrist equals roughly 1/2"; two fingers equal about 3/4". Start there and adjust for personal preference.
Bangles are rigid, so the inside circumference of the opening must clear the widest part of your hand. Measure across the widest point of your knuckles with your fingers pressed together, then convert that diameter to a circumference (multiply by 3.14). When in doubt, round up. A bangle that won’t slide over the hand is unwearable regardless of how it fits the wrist.
Cuffs have an opening gap that lets them flex onto the wrist, so the fit depends on both the band height and the opening width listed in the product specs. The cuff should sit snug but not pinch. Check the opening measurement against your wrist diameter before ordering.
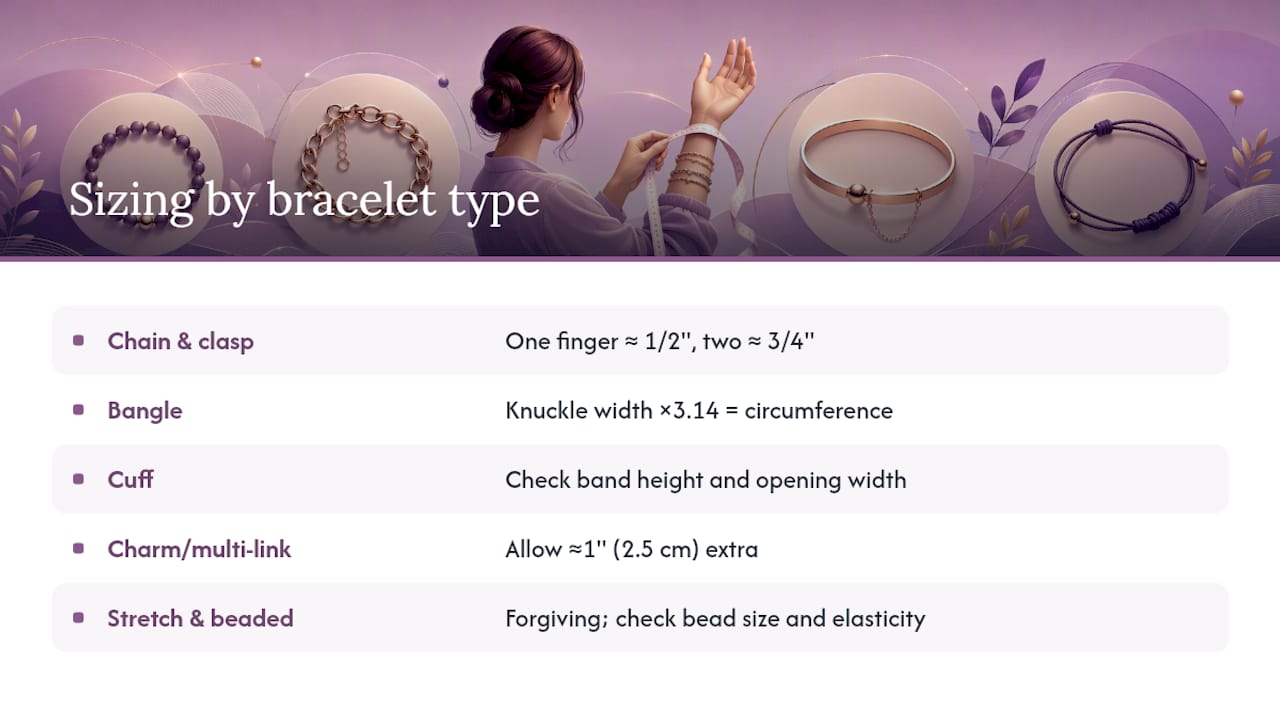
Charm and multi-link bracelets need the most allowance, roughly 1" (2.5 cm) extra, so the links don’t pull tight when charms are attached. A Klosters-style opening bangle or a cuff with a specified inner diameter makes this easier to verify before buying.
Stretch and beaded bracelets are more forgiving, but check the bead diameter and elasticity. A very tight stretch bracelet puts stress on the elastic and shortens its life.
Adjustable extenders on chain bracelets let you shift the fit by 1/2" to 1" without returning the piece. If you’re unsure of your size or plan to layer, an adjustable chain option is the lowest-risk choice.

How to measure a bracelet you already own
An existing bracelet you love is the most reliable sizing reference you have.
Lay the bracelet flat on a table with the clasp closed. Measure the inside loop from one end of the clasp to the other, following the curve of the bracelet. That number is the inside circumference. Do not measure across the diameter and double it. That method introduces error because most bracelets aren’t perfect circles.
The accurate sizing number is always the inside circumference read with the clasp closed. Measure band height separately in millimeters to judge proportion, not fit.
Measure band height with a ruler or calipers: the distance from the top edge to the bottom edge of the band. Write both numbers down. When you find a new listing you like, match the inside circumference first. Then use band height to decide whether the new piece will look proportionally similar or chunkier on your wrist.
Pro Tip: If you own a bracelet that fits perfectly, photograph it next to a ruler. That image is your personal size reference for every future purchase.
Common sizing mistakes and how to fix them fast
Most sizing errors come down to a handful of repeatable mistakes.
- Measuring over clothing or a watch: always measure bare skin, at the bracelet-wearing position.
- Reading the outside of a bracelet instead of the inside loop: the outside measurement includes the metal thickness on both sides and will be longer than the actual fit measurement.
- Doubling a flat measurement: laying a bracelet flat and measuring half its length, then doubling, skews results because the clasp and curve aren’t accounted for evenly.
- Measuring when hands are cold or swollen: cold hands read smaller; post-exercise hands read larger. Neither gives you a reliable baseline.
- Ignoring band height: a 7" bracelet in 2 mm and 12 mm will feel completely different, even though the loop length is identical.
Quick fixes: re-measure below the wrist bone with a strip of paper if you don’t have a tape. Compare the result against a bracelet you already own. If you’re still unsure, retail size guides consistently recommend rounding up when between sizes, especially for bangles and cuffs. For chain bracelets, a removable link or extender gives you room to adjust after the fact.
Why fit is more personal than any chart suggests
Charts give you a starting point. What they can’t tell you is how you like a bracelet to feel.
Some people want a chain that barely moves. Others want it to slide freely up the forearm. Neither preference is wrong, but they require different ease allowances, and no size chart accounts for that. My approach: I always start with inside circumference to confirm the piece will close, then I think about band height and how many other bracelets I plan to wear at the same time. A 2 mm chain stacked with two others effectively becomes a 6 mm band in terms of wrist real estate.
Return and exchange policies matter here more than most buyers realize. A brand that lists both inside circumference and band height, and backs that with a clear exchange policy, removes most of the risk from buying online.
Merijaan makes sizing straightforward before you order
Merijaan lists inside circumference and band height on its product pages, so you’re comparing the right numbers from the start. The Basel chain bracelet and the Lauterbrunnen bracelet both include measurement callouts that map directly to the wrist ranges in this guide.
Merijaan backs each purchase with a lifetime warranty and an exchange policy designed for buyers who want to get the fit right. Browse the full collection and use the sizing support page at Merijaan to match your measurements to the right piece.

